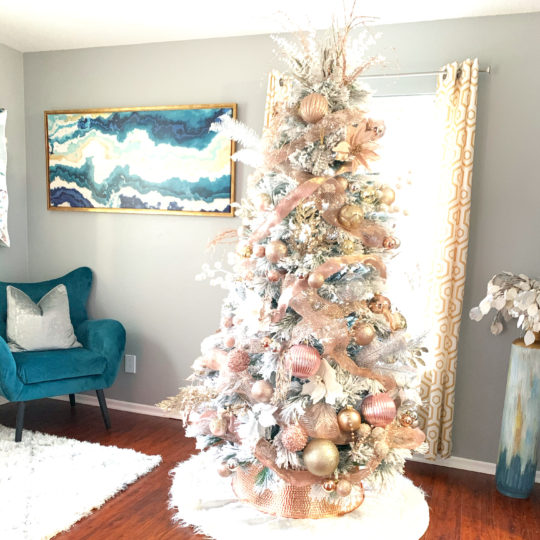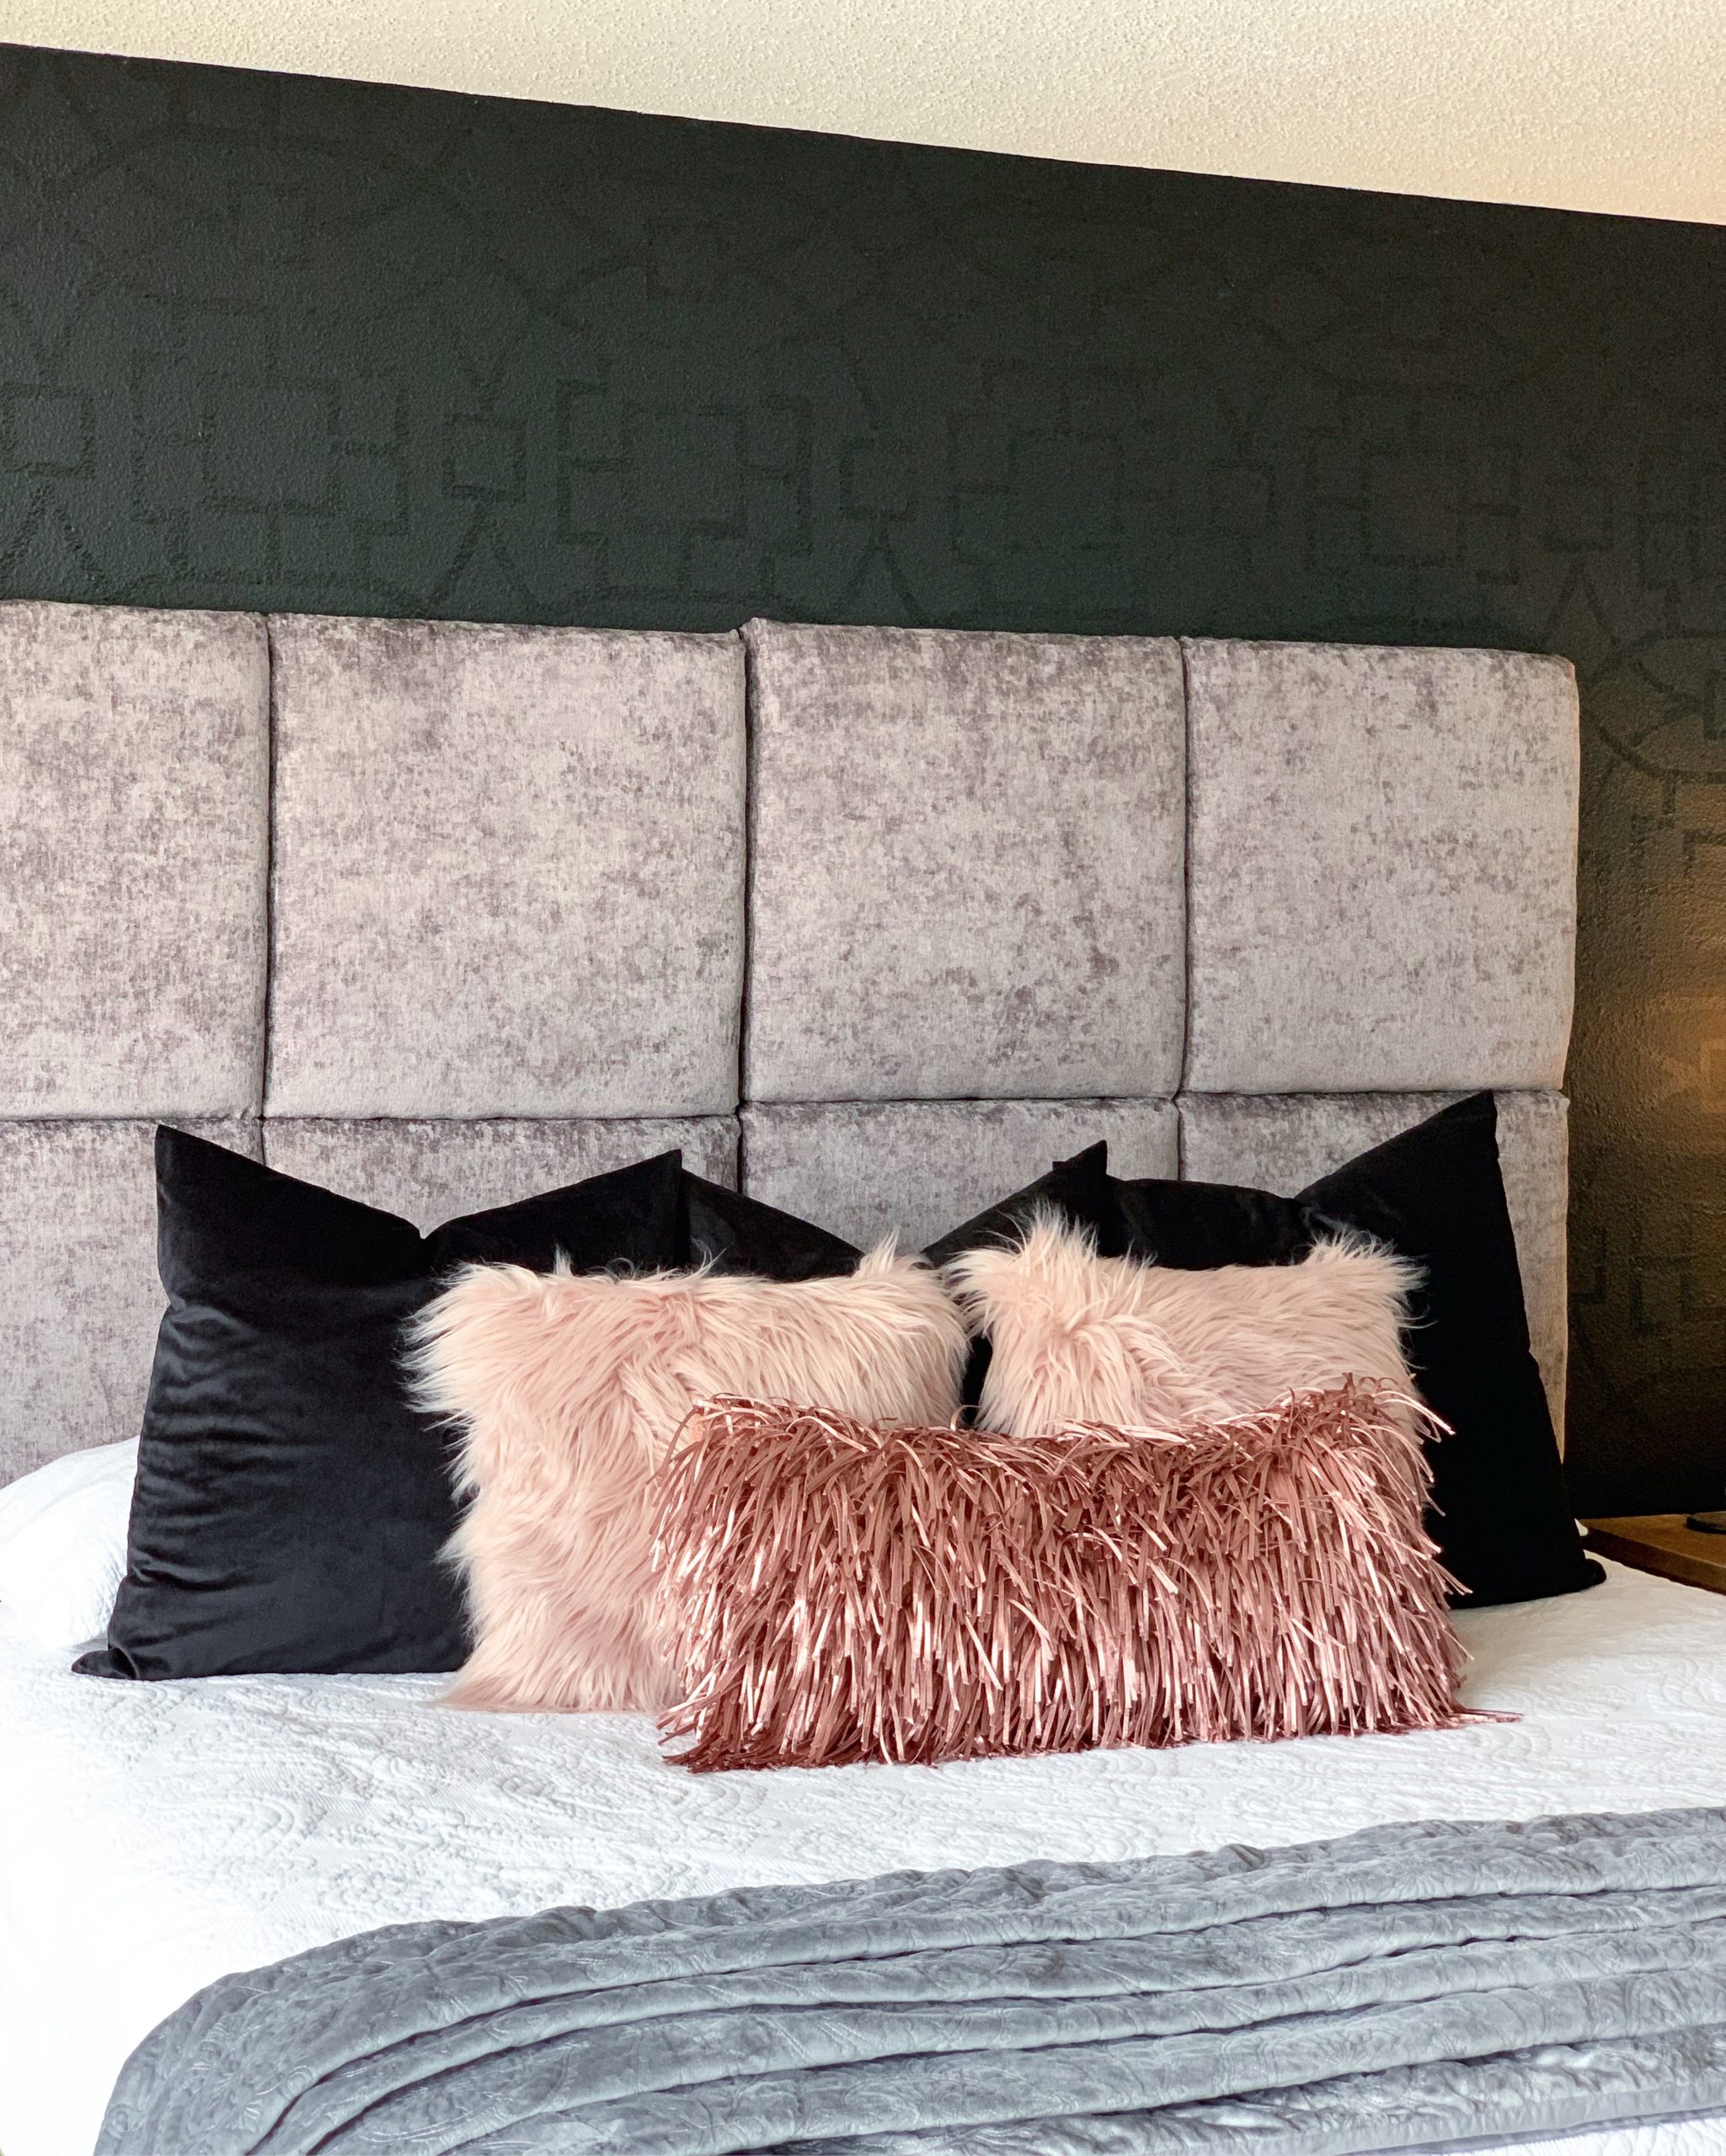

Hello readers!!! Who wanna go BLACK?! 😂😂😂 Hey, I’m talking black walls. Hahahaha. No seriously, this accent stenciled wall is bedroom goals! If you have time, patience, energy and opportunity then you’re already half way there. Let’s dive in on the how to below but 1st let’s check out the before to see what I was workin with. Also, if you want to know details about the headboard, check out my YouTube video where I walk you through the steps to make your own and upholster it yourself.
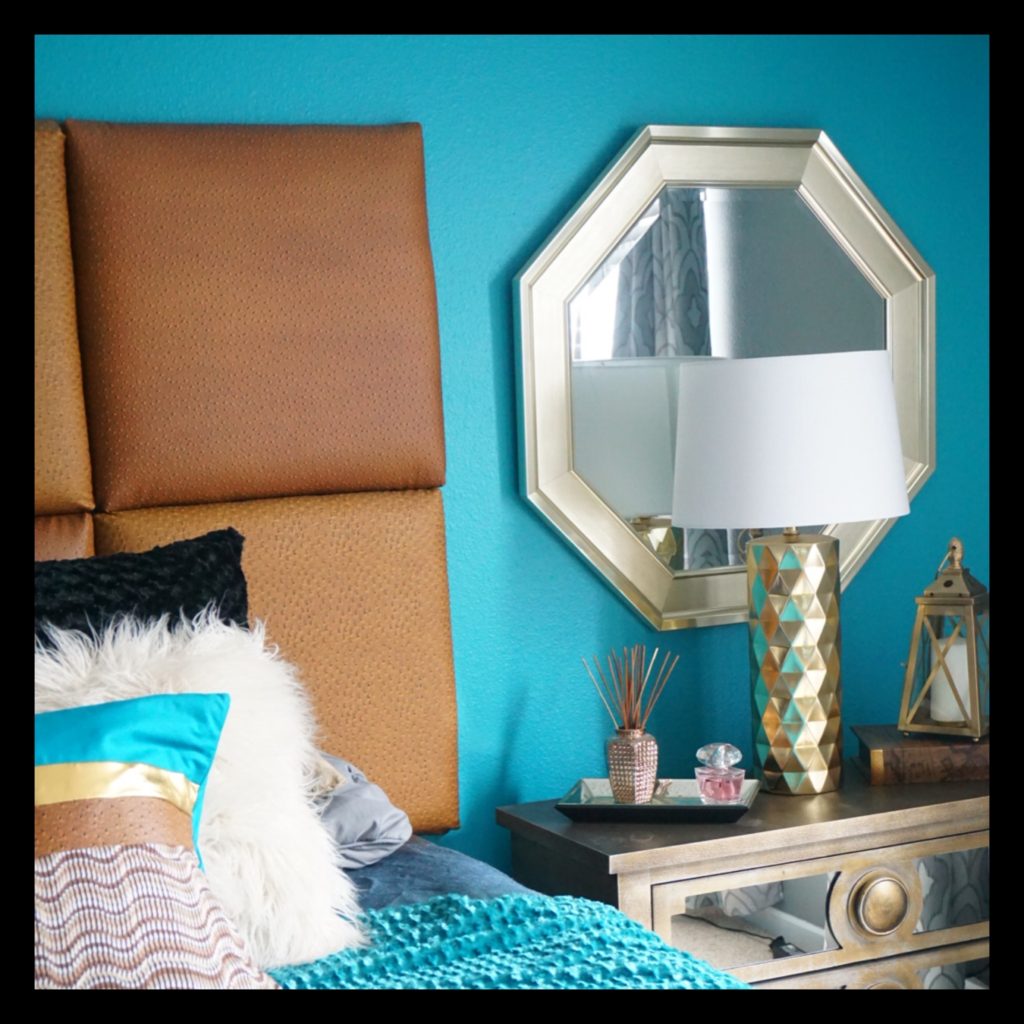
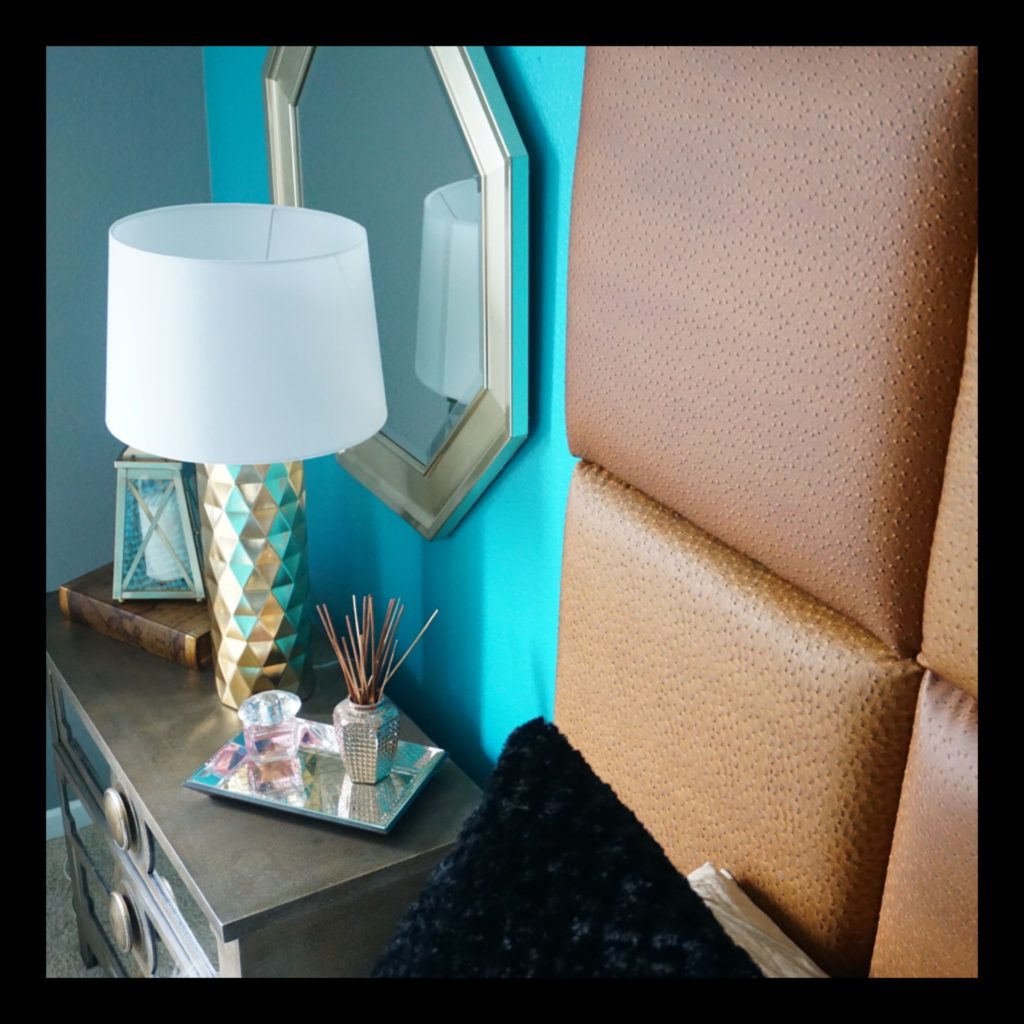
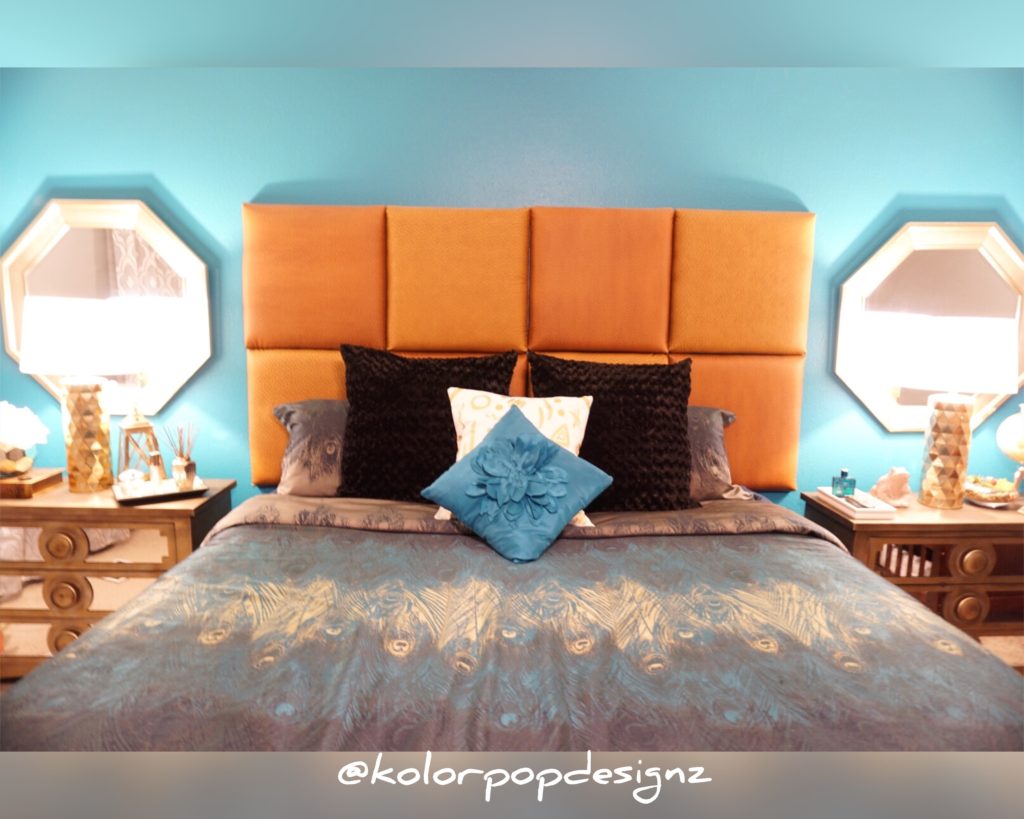
Before I decided to go black and change the look of our master bedroom, I had an accent wall in the color teal as you can see above and below. This color was long standing for at least 7 yrs and I needed a new look. The way my brain set up, I change a look like it’s the season but I will be enjoying black and blush tones for awhile.
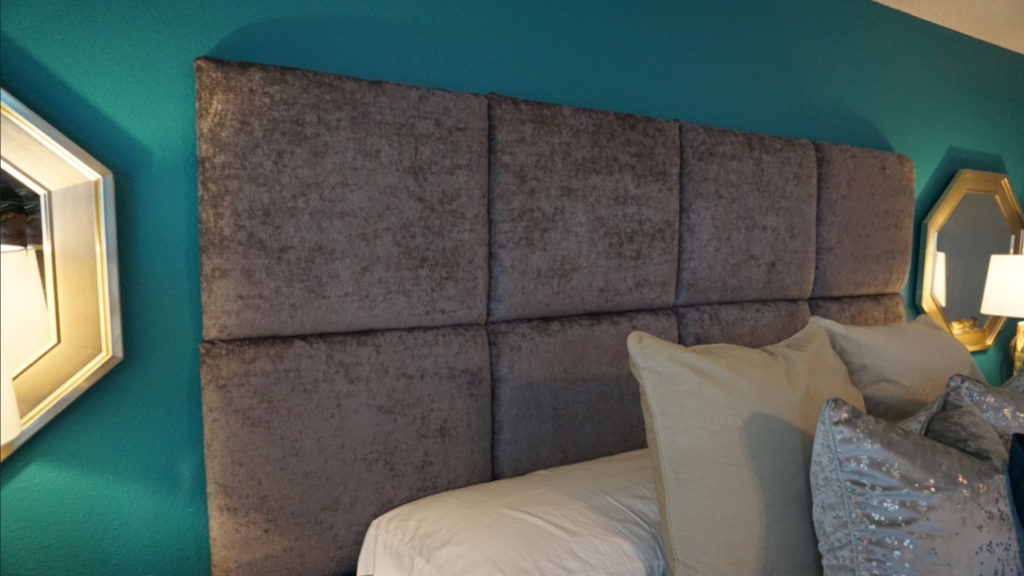
Changed my headboard fabric. Check out my YouTube video to see how I created this upholstered headboard.
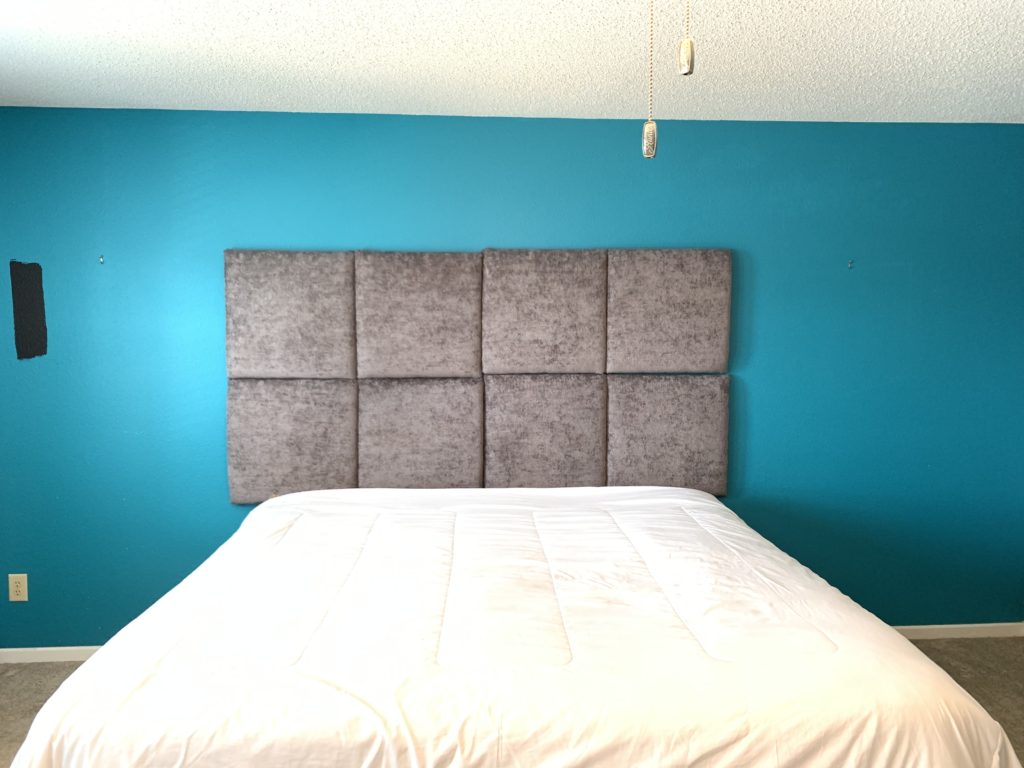
Time to say goodbye to the teal. Sad to see you go!
The paint I used above as my base was Behr’s “Limousine Leather” in eggshell. I will explain more down below the errors I encountered when I started on the stencil.
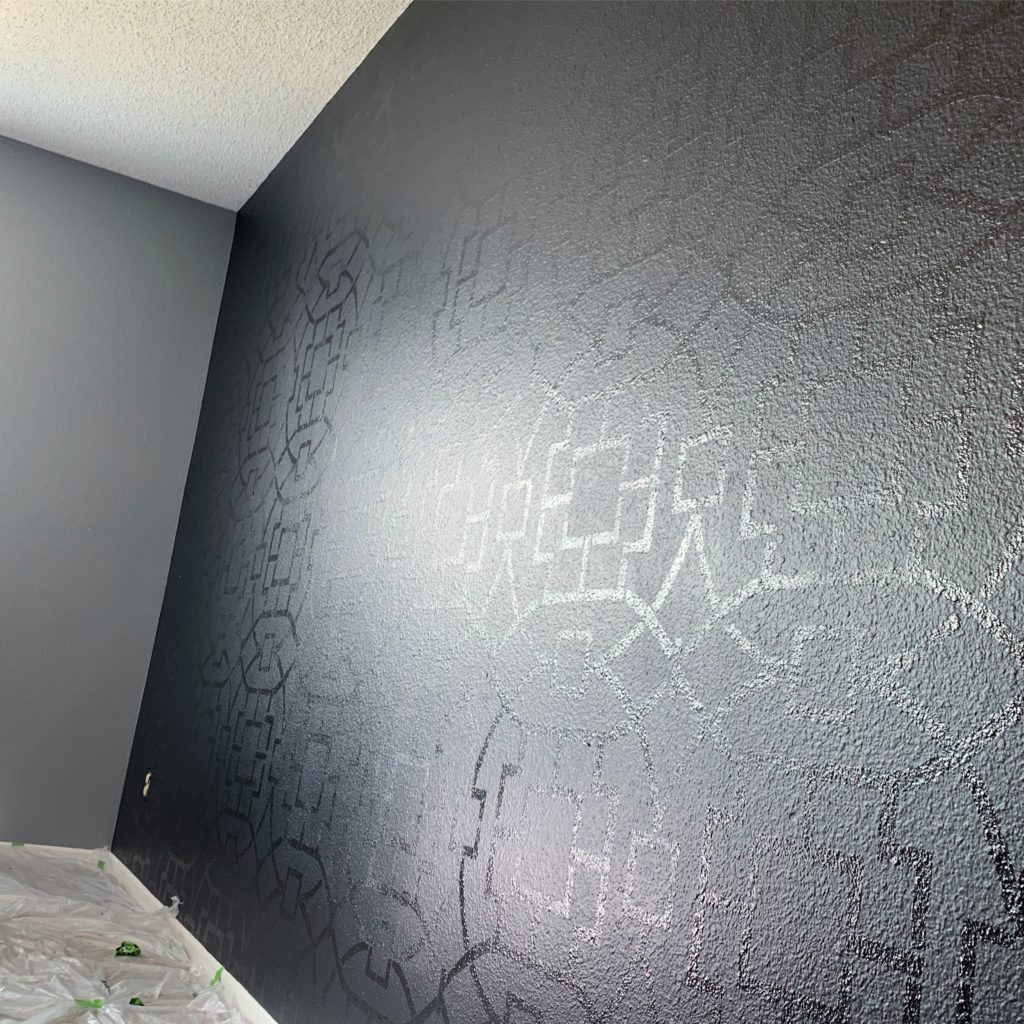
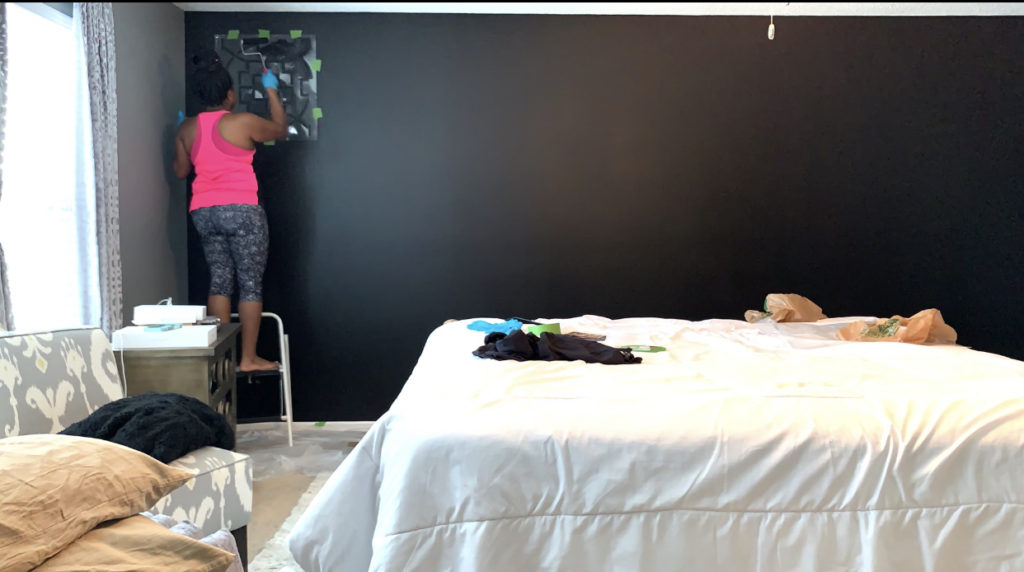
Let me tell ya’ll, it literally took about three days to finish this wall! The stencil process is no joke but the results make it well worth it. Allow me to give you some tips when it comes to doing the same color wall as your stencil.
Tip #1: For your overall wall sheen, make sure your paint is either matte or flat.
Tip #2: Use the highest gloss for your stencil. Trust me when I tell you I learned this the hard way when I thought I could get away with using the base in eggshell and the stencil in gloss. The eggshell still a slight sheen and the gloss was not picking up well when I painted the stencil on top of the eggshell. You could see it but not good enough for the effect I wanted to see.
Tip#3: If your doing a big wall like mine above, get a gallon of paint for the stencil alone. You will be surprised how fast the paint goes. Originally, I got a quart and took it back to get a gallon. I don’t know if it’s because I used black but I definitely needed that gallon.
Tip#4: Take your time! Please don’t rush the stenciling process. The stencil you receive has guides (2 at the top and 2 at the bottom) to make sure you stop and begin each pattern correctly.
I truly believe that had I known what sheens to get the 1st time and getting a gallon for the stencil in the beginning, it may have only took me a day in a half or two days max. We live and we learn right, lol! The stencil I used to achieve this look came from “Cutting Edge Stencils”. Shipping was fast as I received my stencil within a few days. Sometimes you can find coupon codes to save some cash. Thank me later 😉

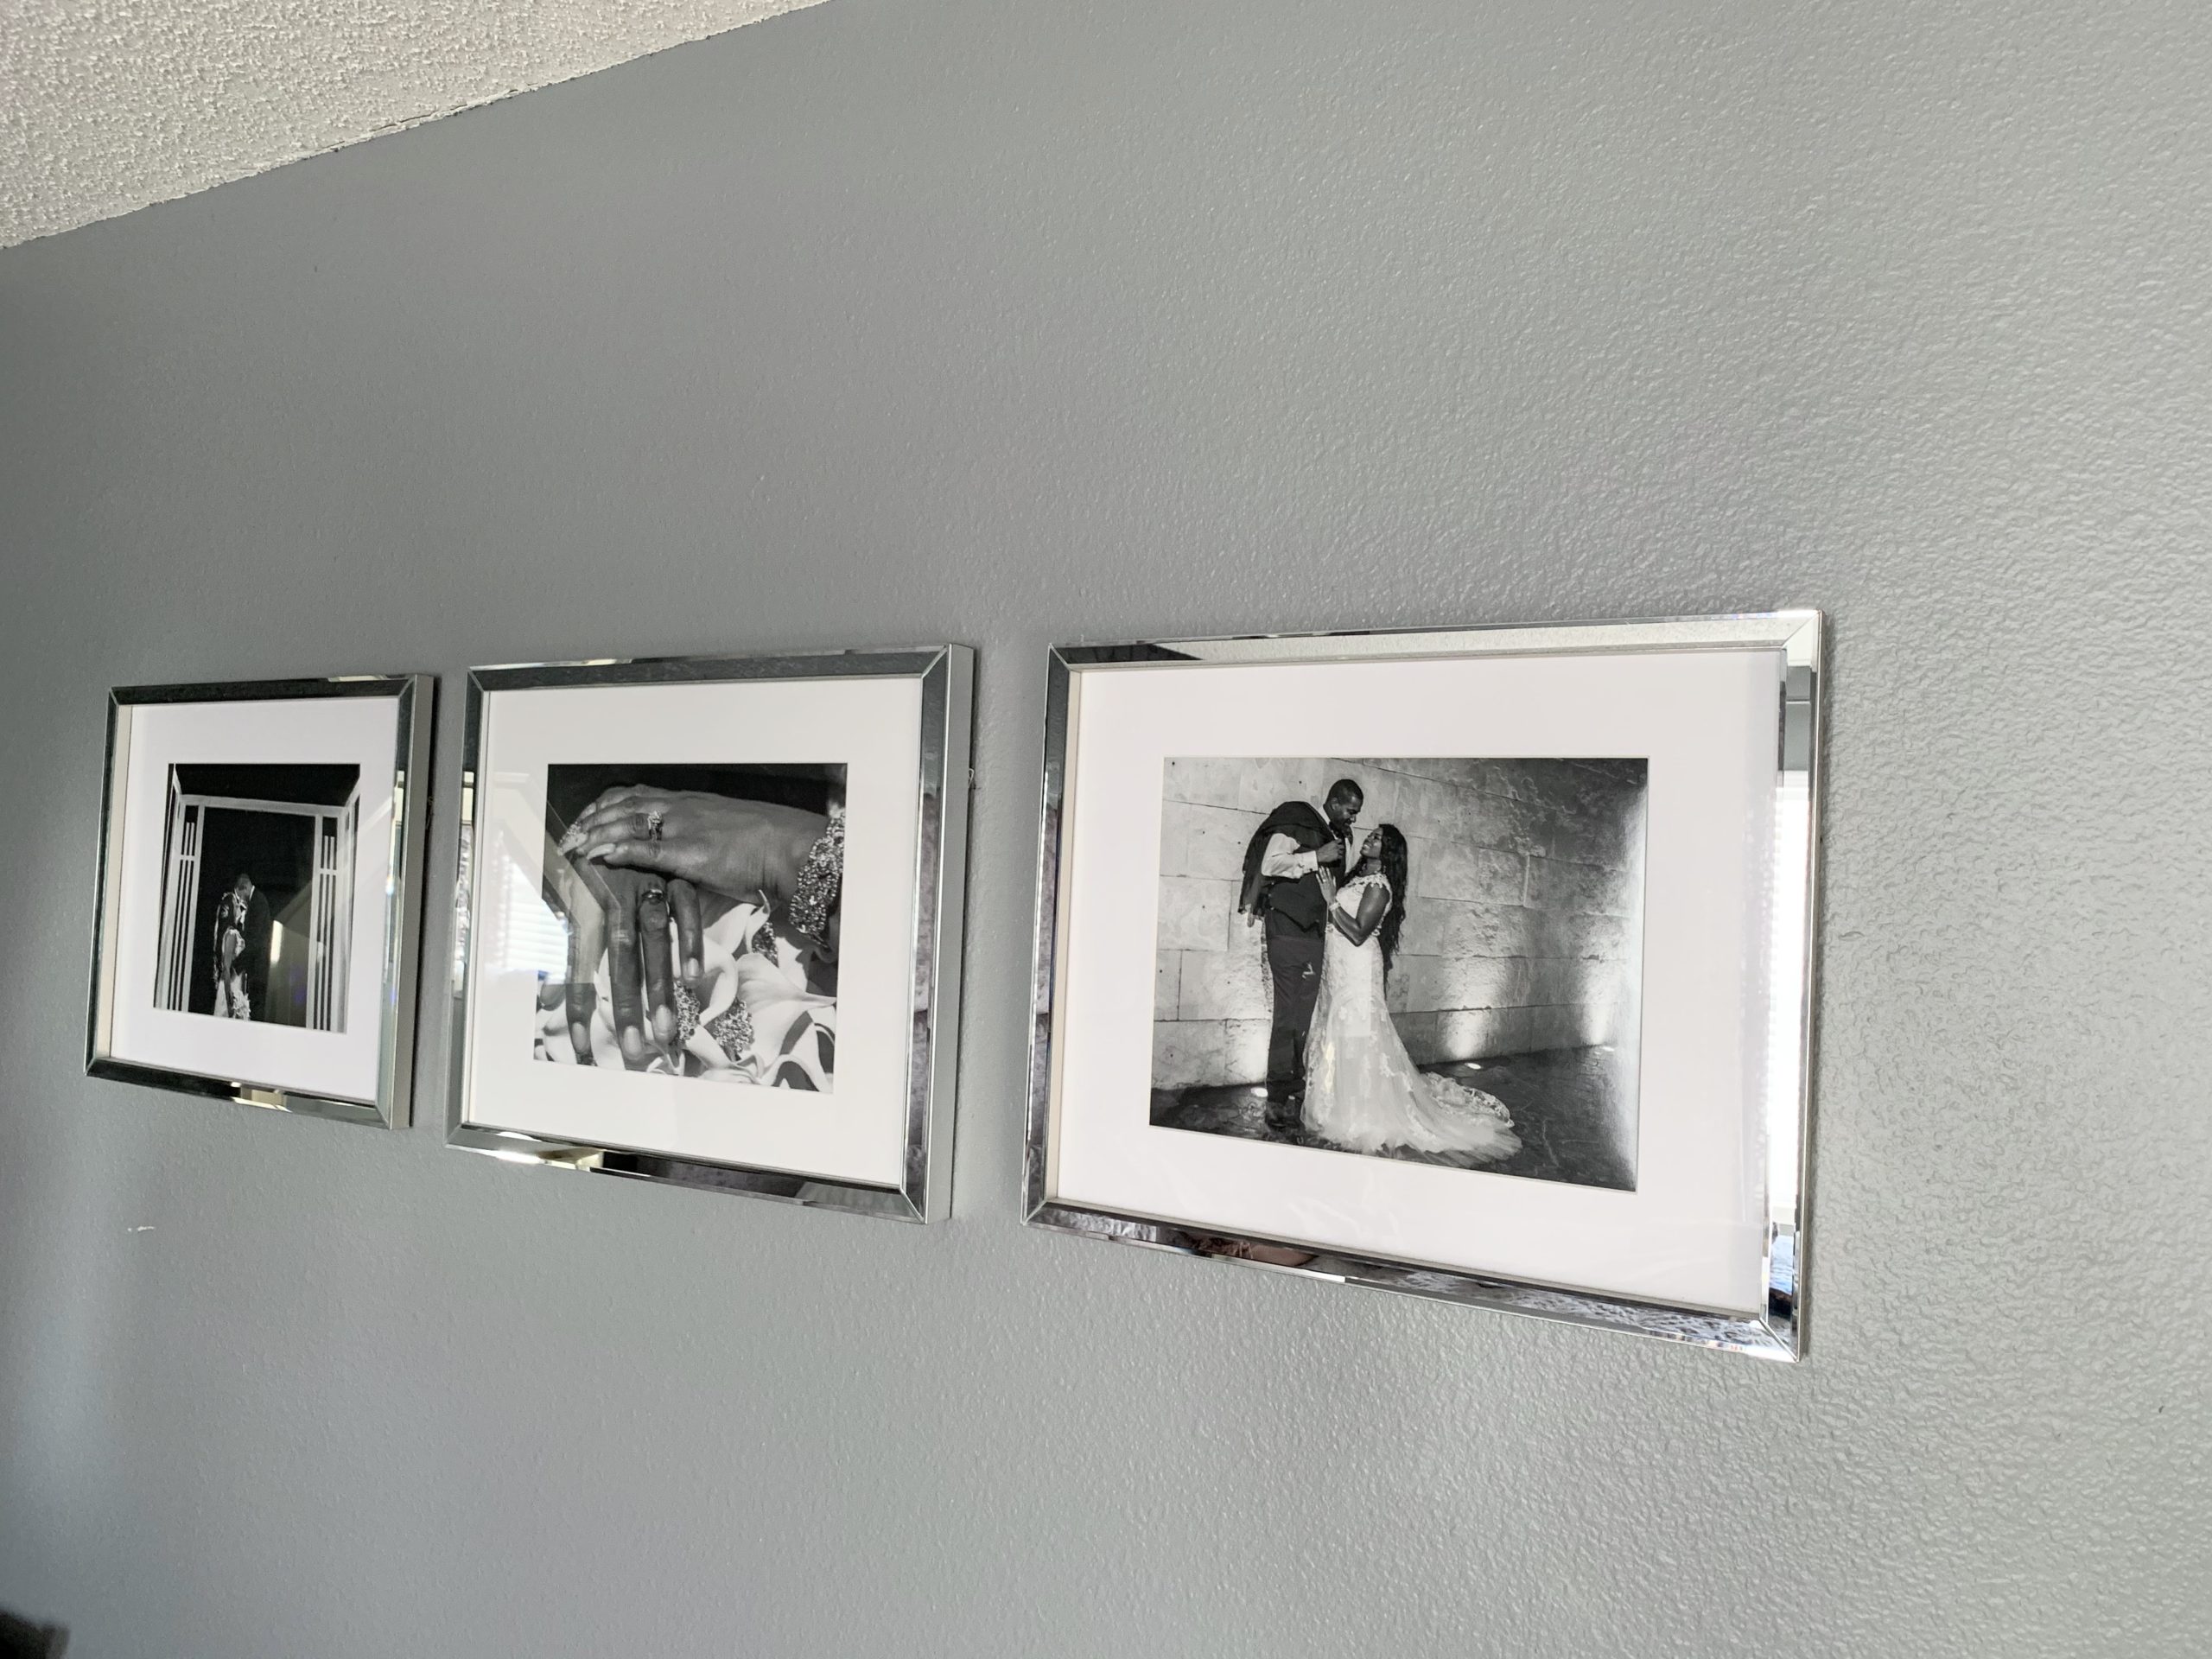
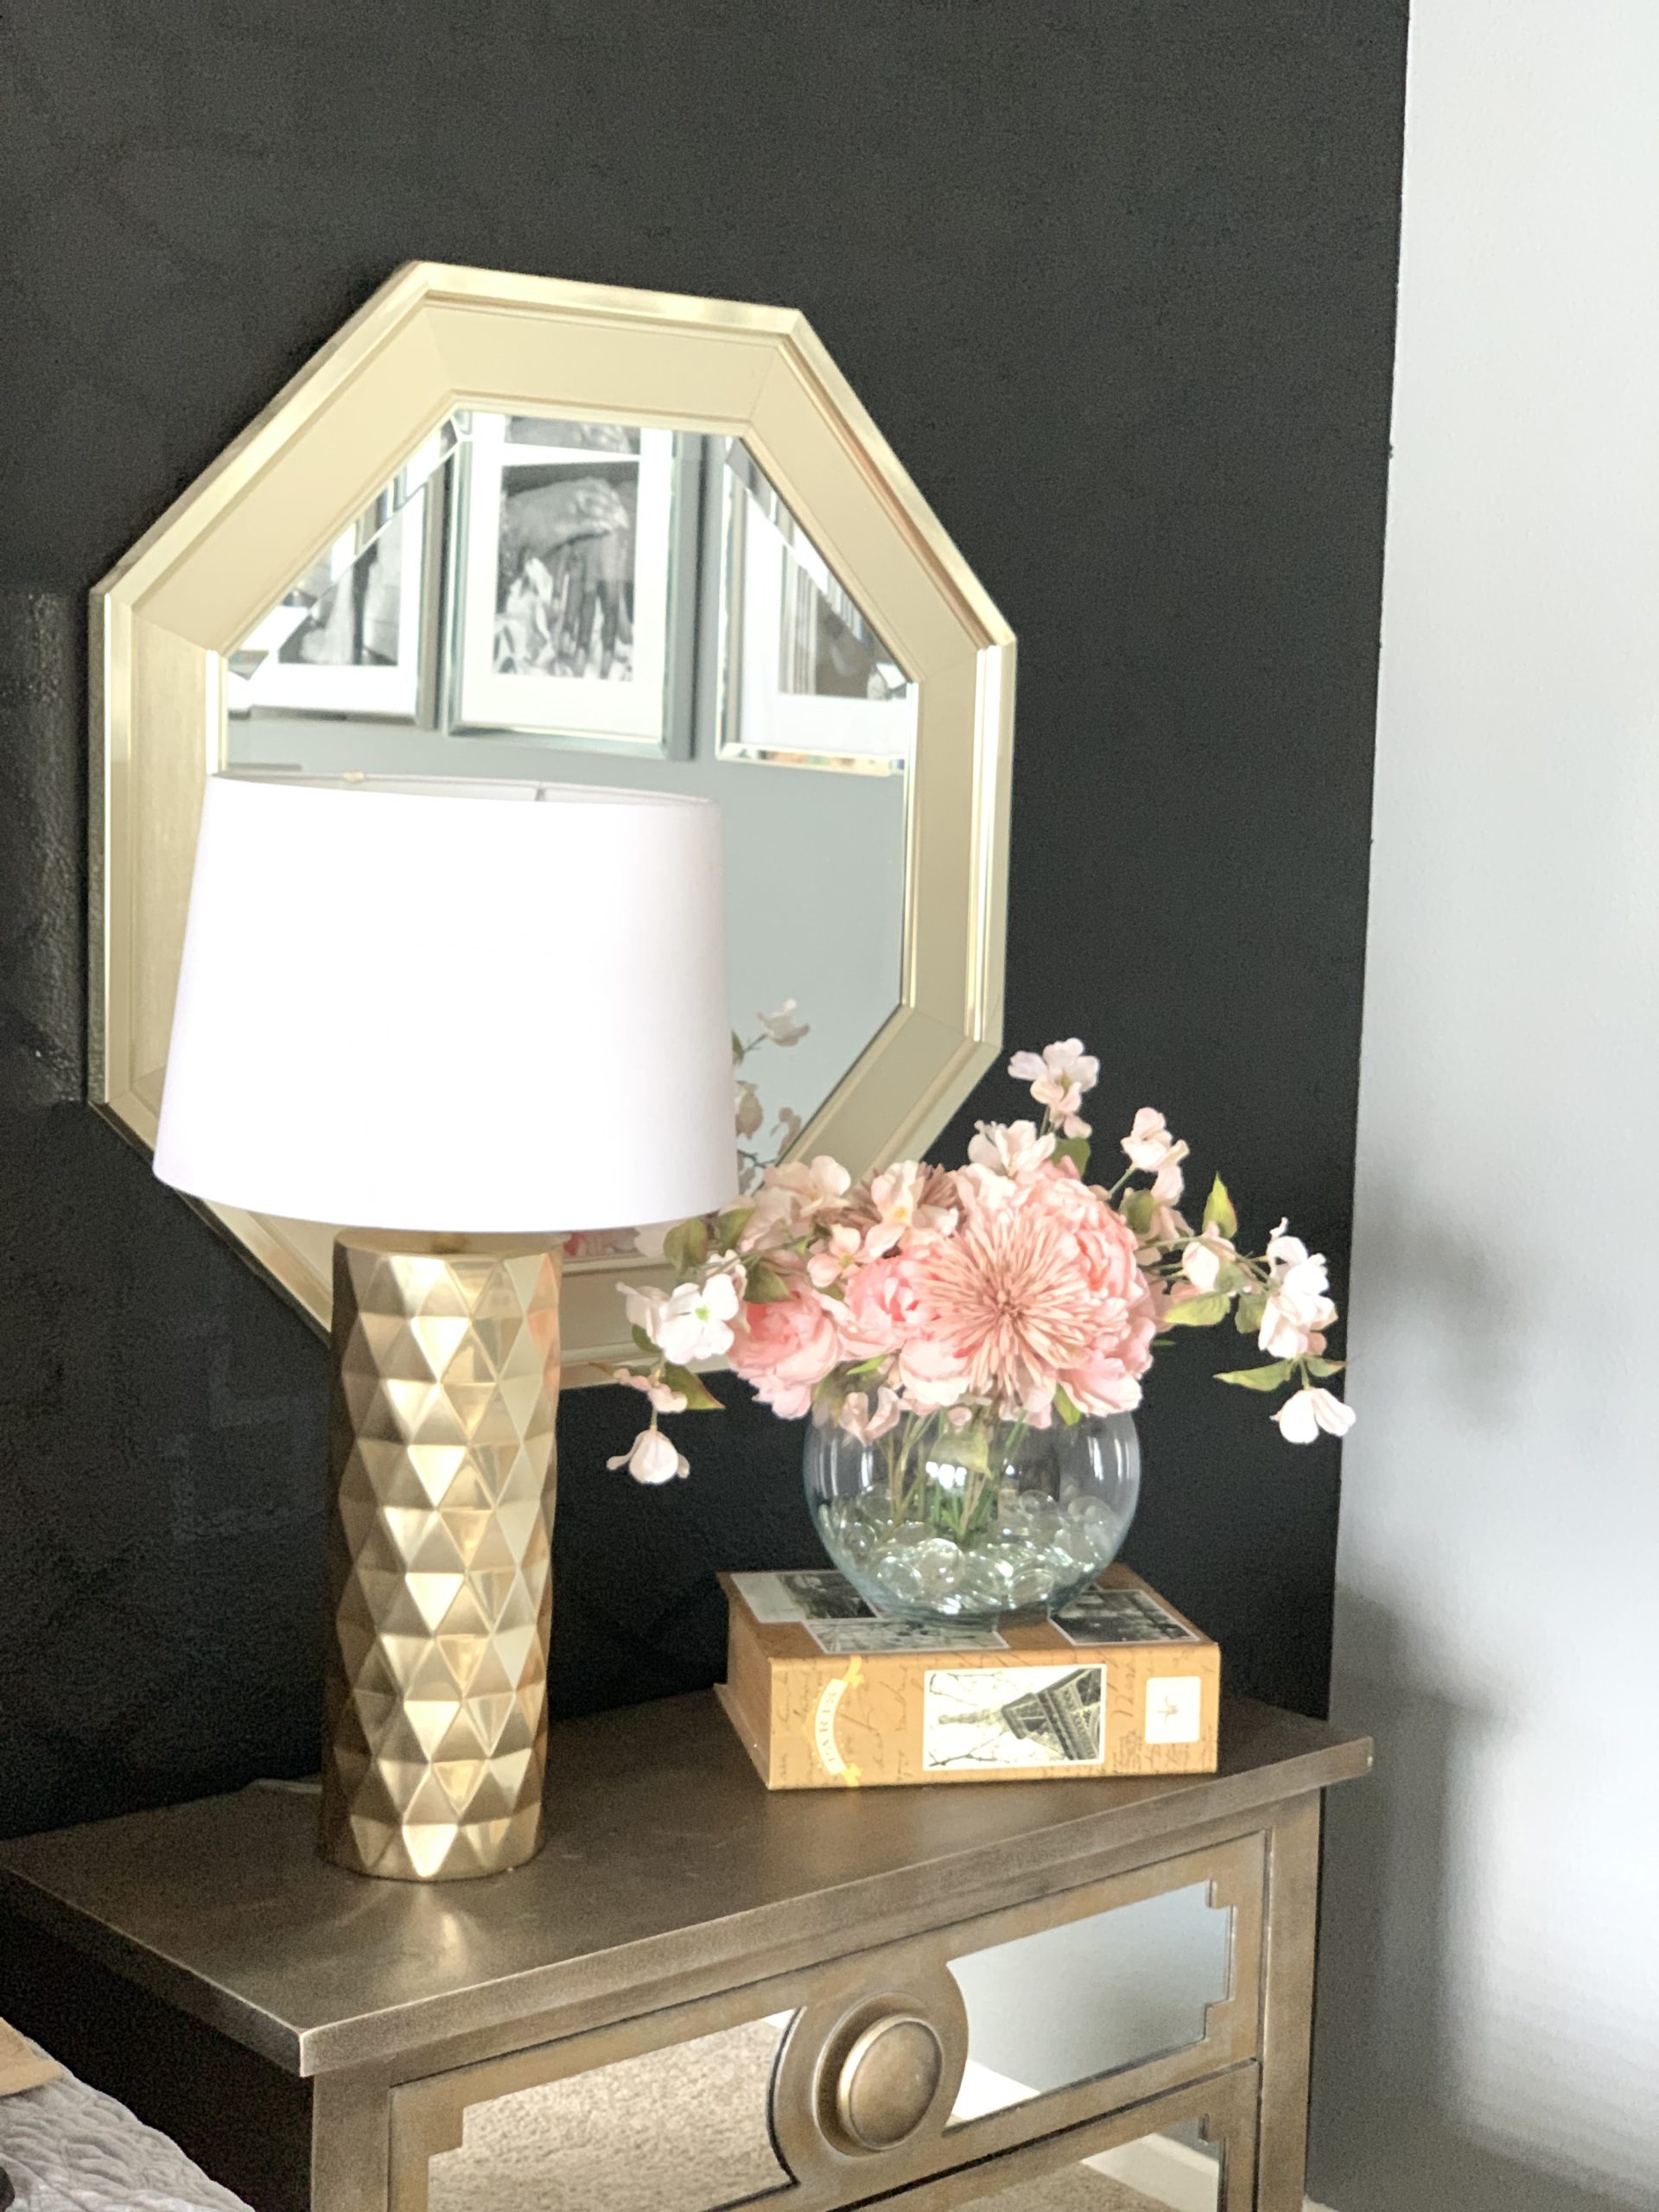
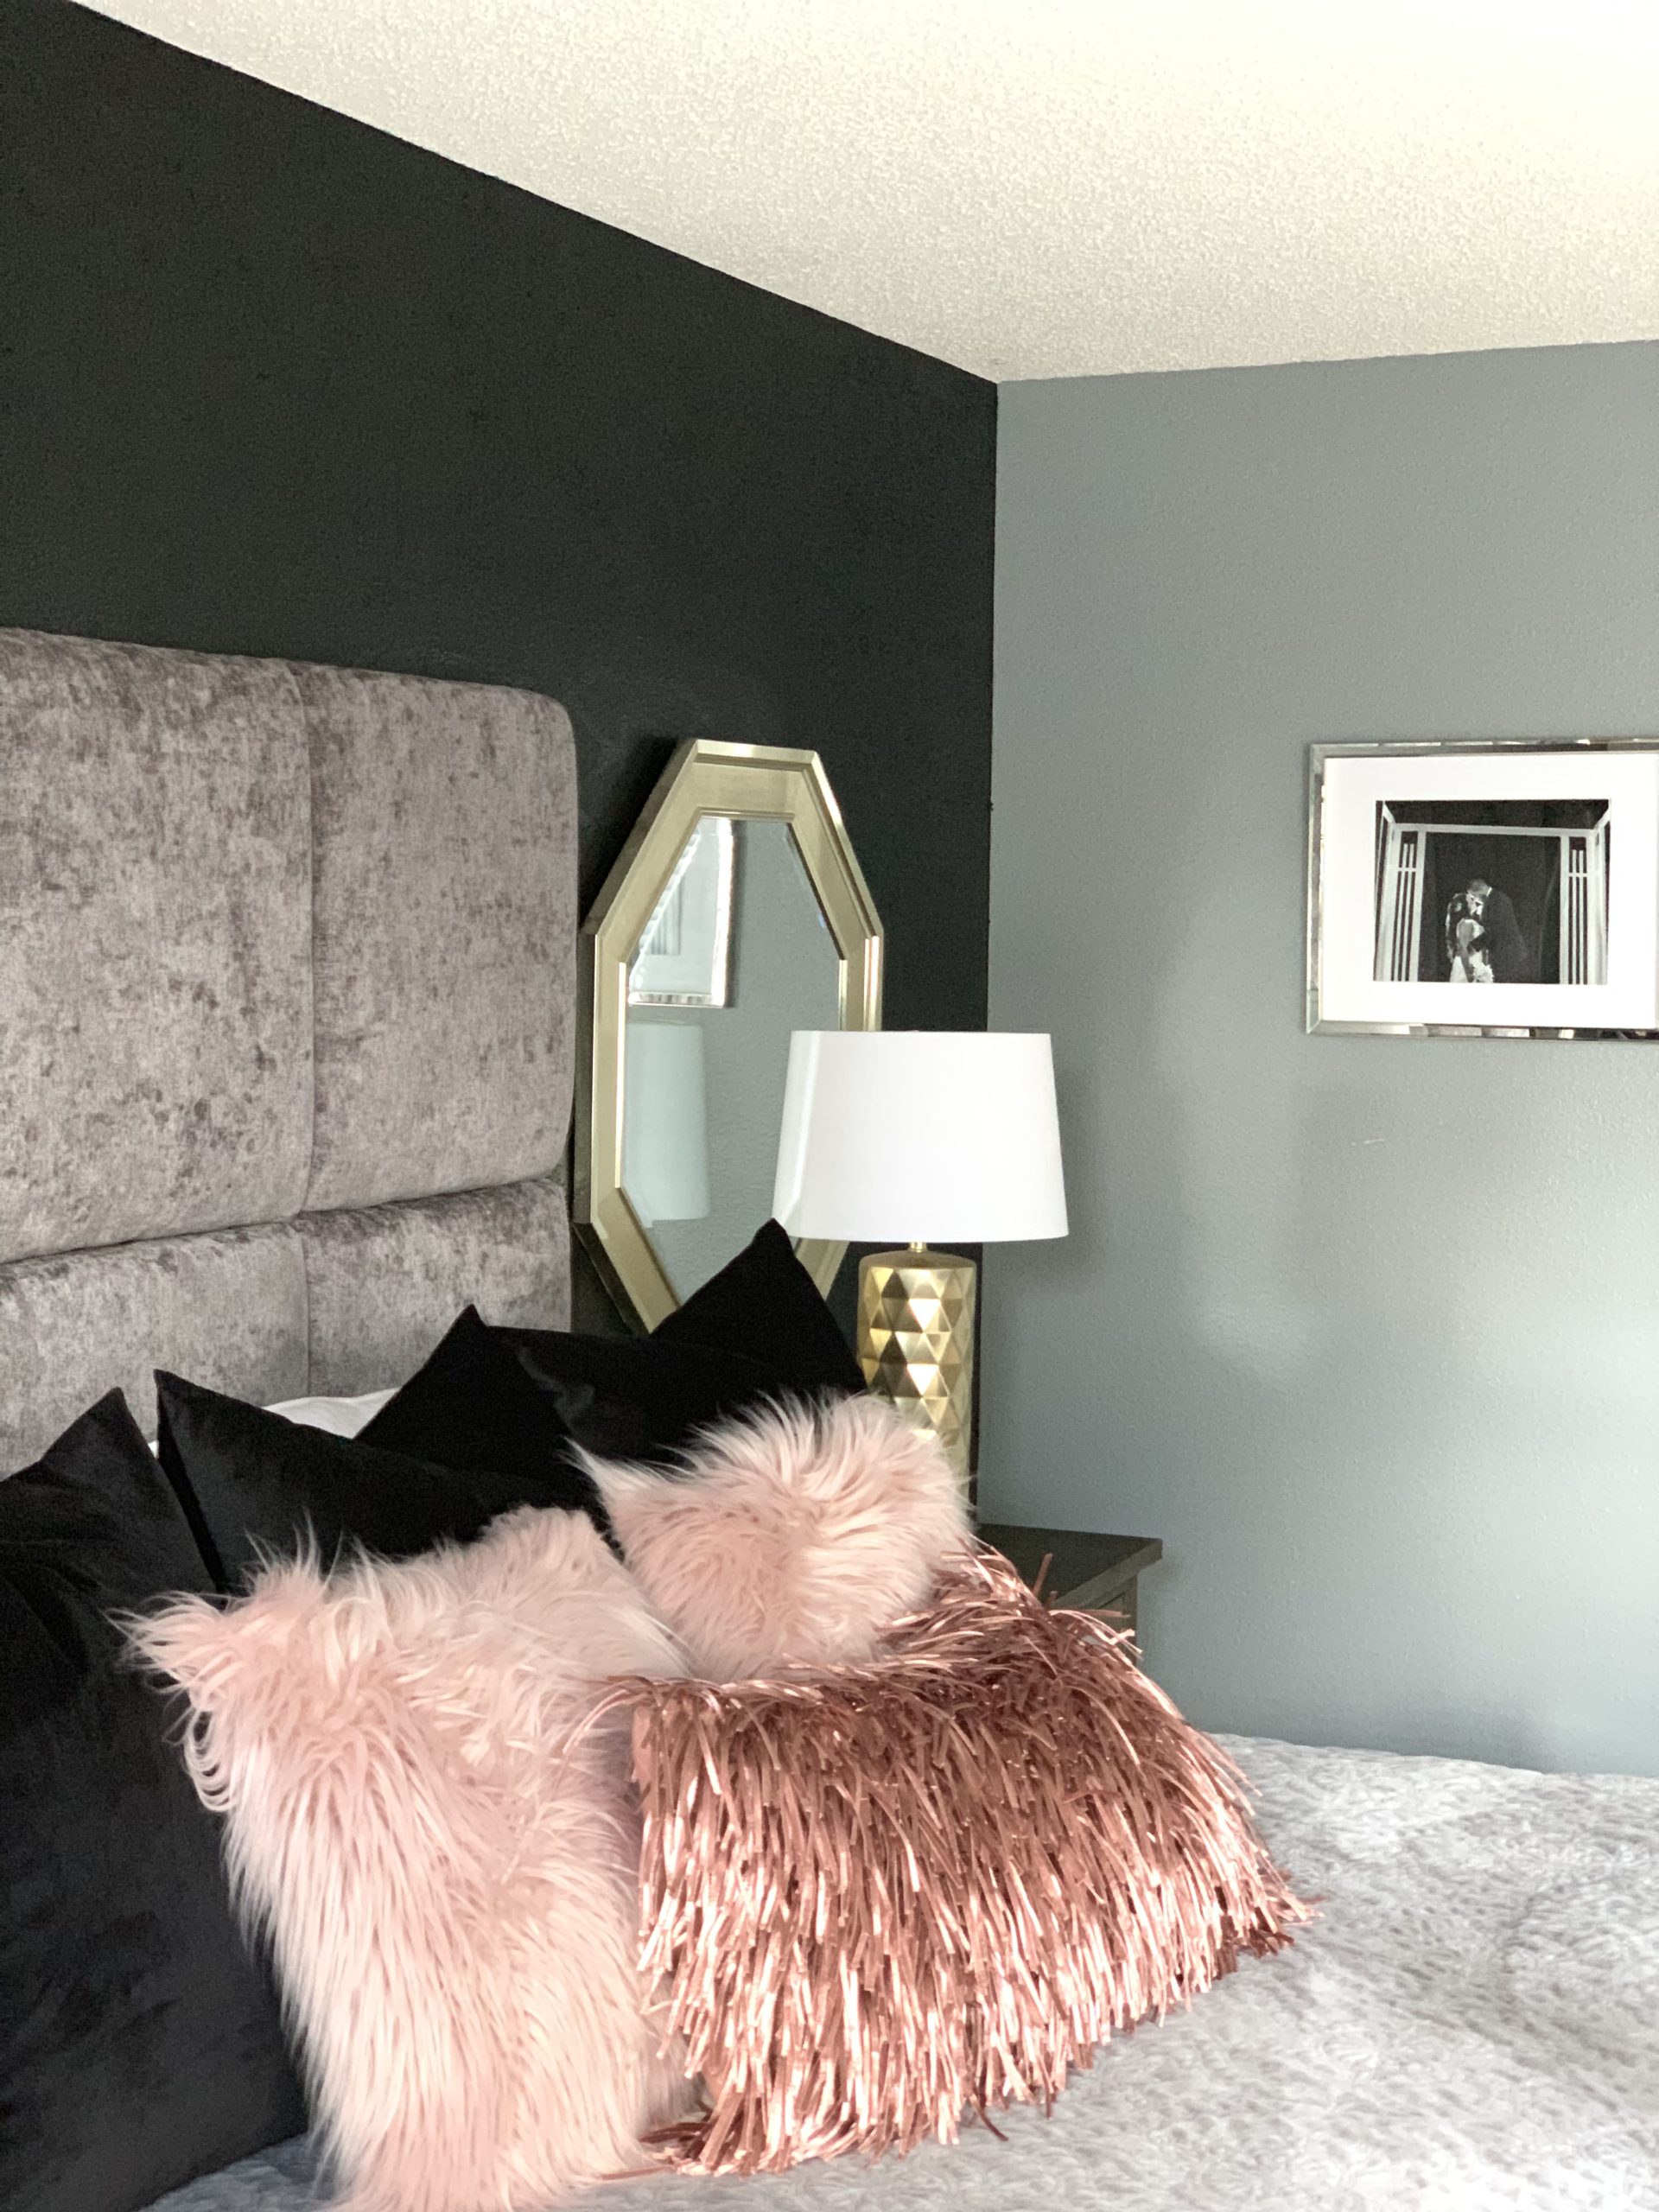
I’m loving the black and blush with pops of blush! I think I will be rocking this this style for awhile.